Printing
First Print
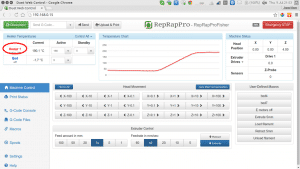
The microSD image contains a sample print: Robot.g which makes for a fun first print. Here is a suggested workflow from powering on the Fisher 3D printer.
Preparing your own files for printing
Having celebrated your success and shown all of your friends and family, you can now move on to preparing you own 3D models for printing. There are three steps to the printing process:
- Obtain 3D model
- Process 3D model to create a print file containing all of the instructions the machine will interpret in order to create the object. This is known as slicing.
- Upload and print GCode file
Obtain 3D model
The first step is to obtain the 3D model of the object you wish to print. There are a number of options available to achieve this:
- Find a 3D model online. There are many websites setup to provide 3D models to download, either for free or a small fee. For example:
2. Find someone willing to create the 3D model from your ideas.
3. Create your own 3D model. There are many software packages available for this, to suit a broad range of wallets.
| Software | Description | Suitable for | Cost | Platform |
| Tinkercad | Very intuitive, but surprisingly useful even for complex models. | Children/Beginner | Free | All (browser based) |
| Fusion360 | Advanced | Free trial | Windows/Mac | |
| FreeCAD | Powerful open source CAD. | Advanced | Free | All |
| Onshape | Full featured, cloud based. | Intermediate/Advanced | Subscription | All (browser based) |
| Solidworks | Full featured commercial package. | Advanced | High | Windows |
| OpenSCAD | Script based modelling. | Advanced | Free | All |
There are many alternatives to the above, but all of the above can be used to save 3D models in the STL format.
Slice
We recommend the free and open source software Slic3r. You may download the latest version from here. Once installed, Slic3r will present you with a first run wizard to setup some settings for you machine. You may skip this and use the profile we use. You will find a copy of this on your micro-sd card; alternatively you may download it here.
Load PLA-heatbed.ini by clicking on File | Load config…, then navigate to each settings category (Print|Filament|Printer) and save the profile.
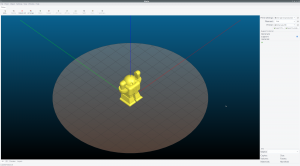
You are now ready to slice your own models. Click on Add…, then choose the STL file of your 3D model.
Click on the Preview tab to verify the toolpath, modify any settings as required, then click on Export GCode…
Upload and print
The .g file can then be uploaded via the web interface and printed.
Back to Commissioning


